In this example we will use EspHome Dashboard to create a ESP32 with MQTT.
First the Computer you are working on should have a WiFi connection to the DKS Network or creat its own WiFi-AP.
Then make sure that in Docker Desktop the EspHome and EMQX Containers are running.
Visit EspHome Dasboard:
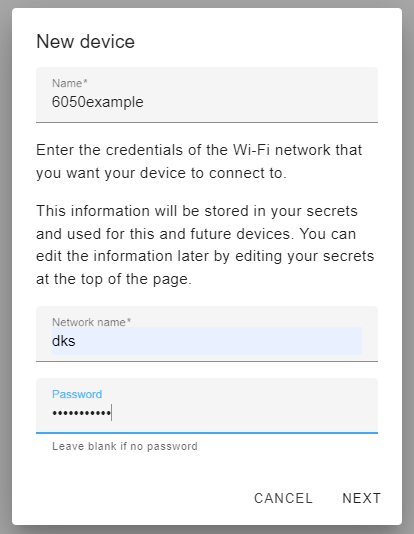
Click on New Device, enter a name and the WiFi SSID and password:
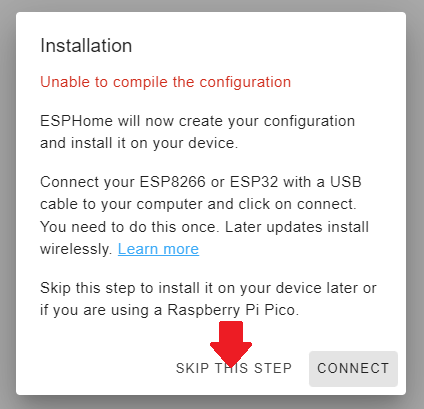
As this is a completly new ESP32 we skip the next step:
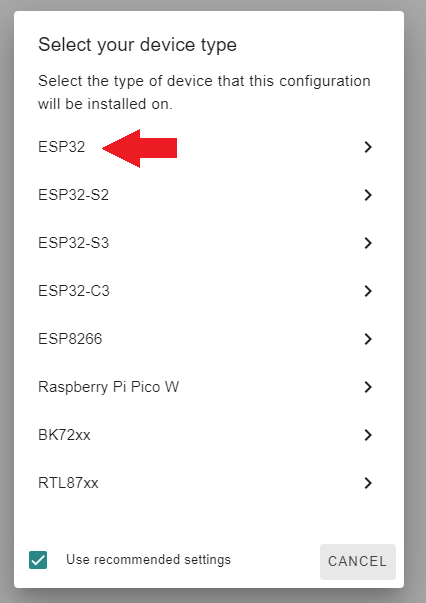
EspHome will create a new Configuration. Choose ESP32 from the List:
We are not using Home Assistant so we are going to skips this step as well:
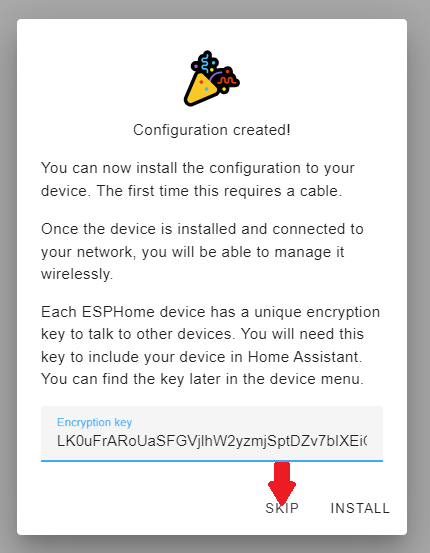
The Device should be added to the Dashboard.
To edit the Config of the Device click the EDIT button:

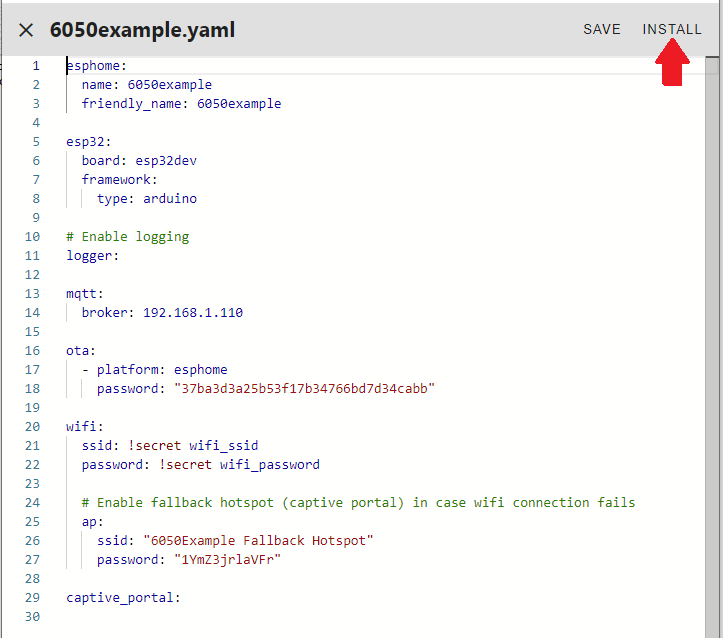
As we are not using Home Assistant we have to remove the api setting as it can conflict with MQTT:
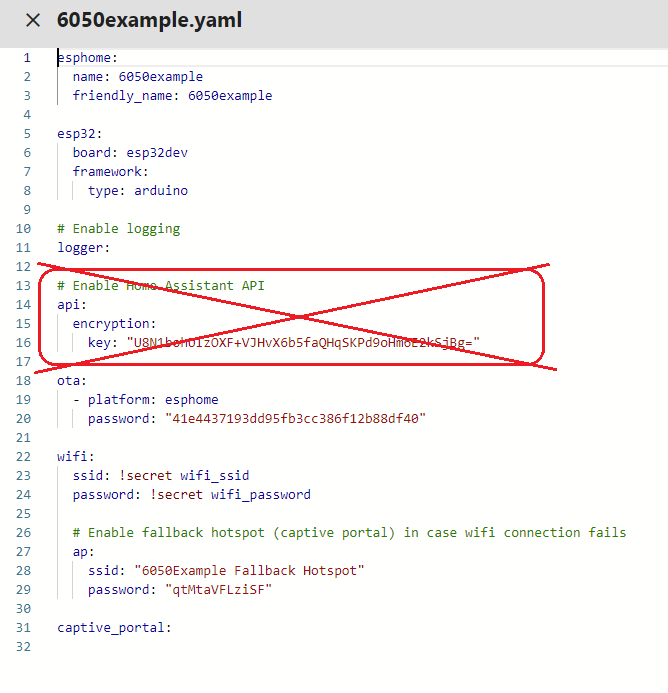
As we want to use MQTT we can replace the API lines with the config for MQTT.
Make sure to replace the IP-Address with WiFi Address of the Computer EMQX is running on:
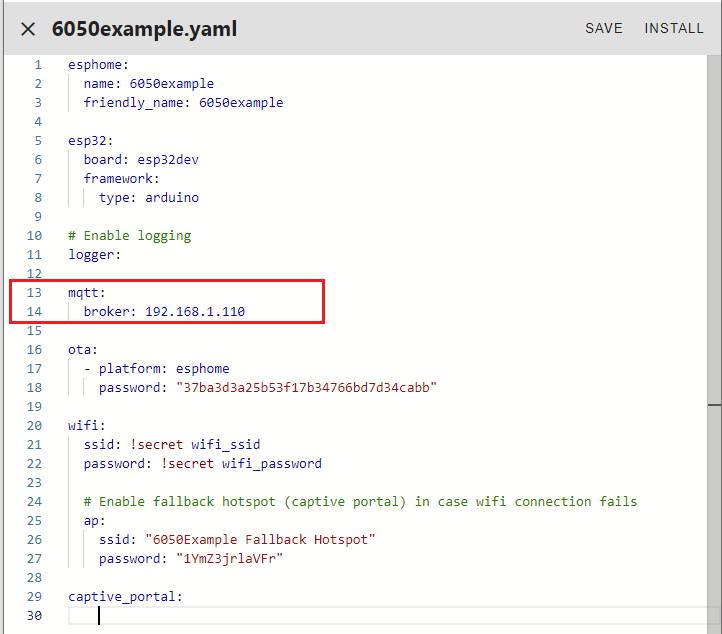
Now we can create a Firmware out of the Config and write it onto a Device.
First connect an ESP32 to the Computer via USB Kabel.
Then choose install either from the 3 Dot Menu or the Config Editor:
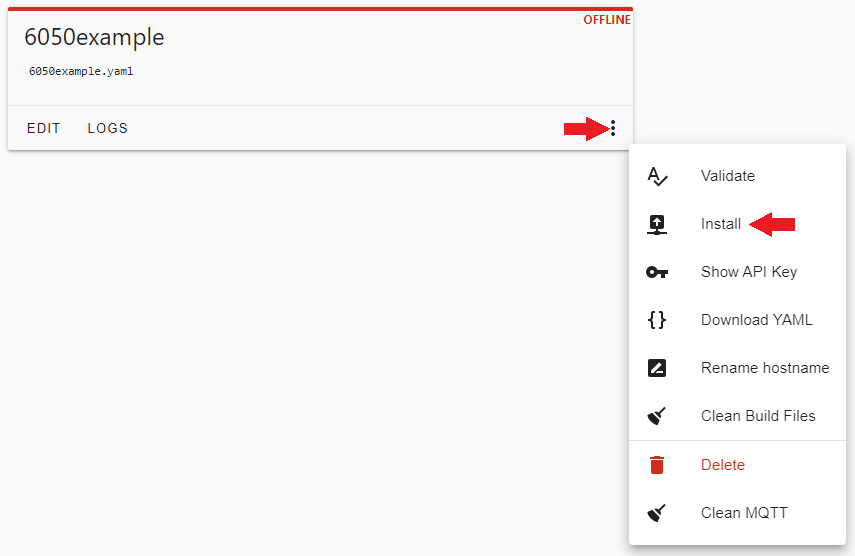
In the next Step choose "Plug into this computer" and then choose the COM Port:
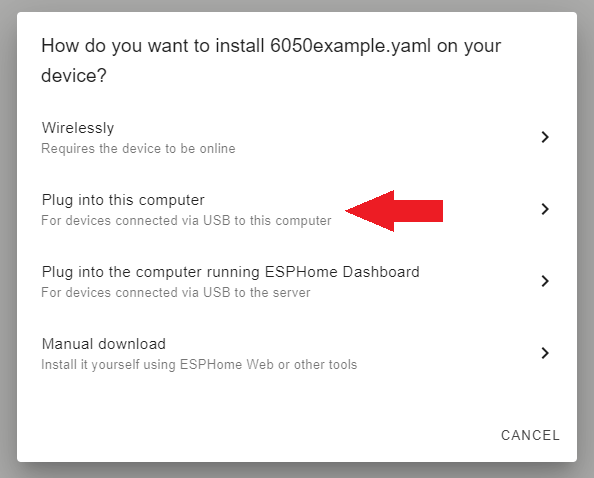
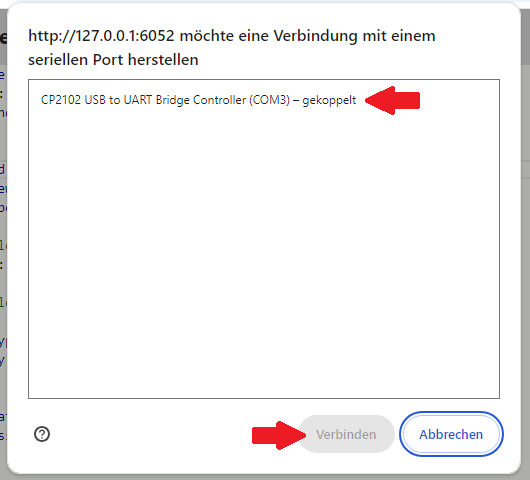
The Firmware should be created and loaded onto the ESP32.
To test the Device first remove power from the ESP32 by unplugging it.
Then goto Logs and Choose Wirelessly:

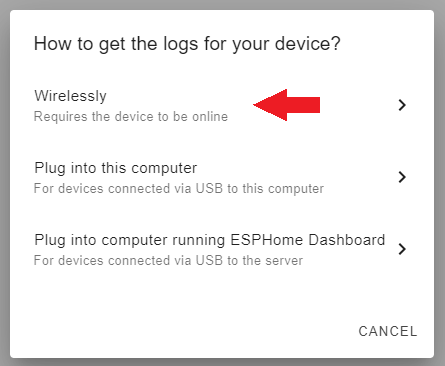
With the black Log Window open power up the ESP32.
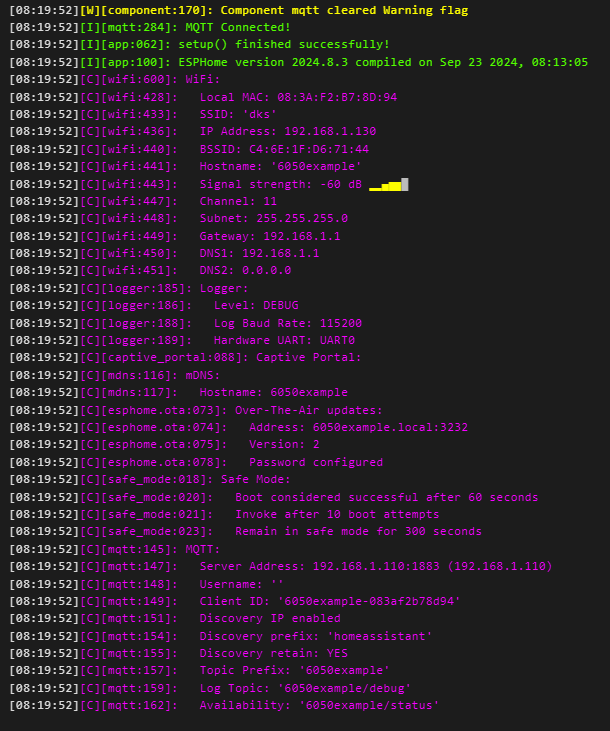
After a minute or so you should get an output that looks like this:
